
How does the Misty Rainforest grow? ;)

My basic set is the acrylic paints in 5 colors + 4 brushes (2 flat ones to do backgrounds + 2 thin ones for details). The thinnest one is actually so thin that almost doesn't work, so I use it only for very little particles like dots.

First layer of the background.

I start with the upper part of the card, by covering it with a layer of basic colors of my background. I'm not particularly accurate on that phase.

Now working on hues and saturation of the sky color.

It's time to do plants. I start with the upper right corner. New leaves and branches are a continuation of what is already on the card. Strong stroke for the branches on the front, blurry shapes in the back. I also add dark layer on the lower border of the card.

Leaves - first I do soft shadows on the title field, then I put a thick layer of a dark green paint, and then a couple of bright green points.

Creating some tropical plants on the right border

As the leaves looked too flat to me, I touched them with a bright yellow color and blended it into green. This way I created the 3D effect of the leafy branch.

Time for the left side - again, I start with shadows and create some shapes with the lighter paint in the end.

Now I add some contrasting details to make the painting look more vibrant. And the top is done!

The bottom part of the card will be covered with different types of plants. Some of them are already on the original painting, some of them come from my imagination.

To make shadows directly on the card surface I use diluted paint and middle-sized brush.

To do these plants I started with a thick layer of paint to create shapes, and then added some lights and shadows. The forest is growing...


Elements such as lianas express the spirit of the forest. Lilac corresponds to the colors of the card.

Adding more shadows gives the impression of the density.

To achieve a final effect I add a spiderweb above the title of the card.

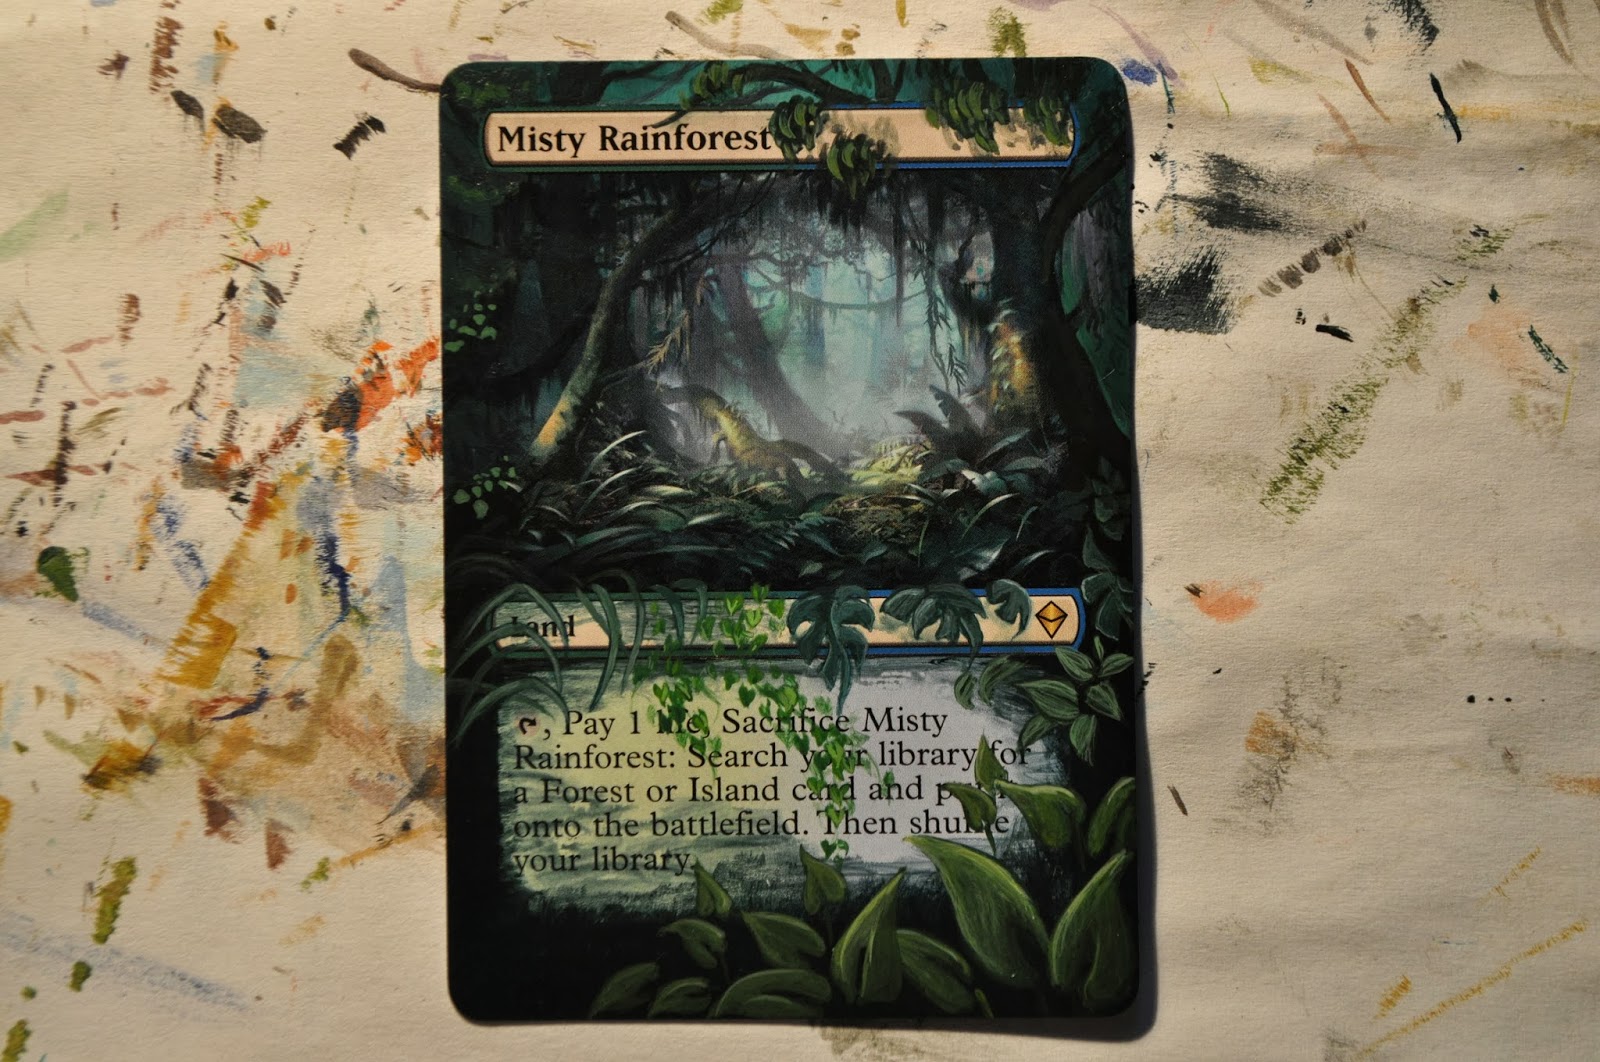
Now it's done :)

No comments:
Post a Comment